Last updated October 30, 2026
 Water damage drying
 Fire & smoke cleanup
 Mold remediation
 Storm response
 Sewage cleanup
 Reconstruction
Free visual inspection and a written scope of work before any mitigation begins - photos, moisture readings, and drying logs go in your claim file
The scope we write is the scope we bill. Anything new gets shown to you, in writing, before we touch it.
Get your free estimateWater Damage Restoration Troubleshooting: Common Problems and How to Fix Them
If your hardwood floors are cupping six weeks after a restoration company signed off on your job as dry, the problem isn’t the wood. It’s that the subfloor moisture content was never brought below 12% before equipment was pulled, and no one showed you the final moisture readings to prove otherwise. What looks like a mysterious post-restoration failure is almost always a traceable break in drying protocol or documentation. This guide walks through the most common problems homeowners and property managers in Murrieta encounter after our Water Damage Restoration services, explains what each symptom actually means, and lays out the corrective steps a certified restorer should take. You’ll learn how to read moisture data, spot equipment under-deployment, and know exactly when a second-opinion inspection is warranted.
Quick Answer
Most post-restoration problems trace back to one of three failures: the structure wasn’t dried to IICRC S500 moisture targets before equipment was removed, the drying plan didn’t account for hidden cavities like wall interiors or subfloors, or the restorer never produced the psychrometric logs and moisture maps that document a complete job. Persistent odor, soft drywall, and buckling floors each point to a specific phase of the drying process that wasn’t completed. The fix starts with re-measuring moisture levels against documented standards, not guessing.
Restoration work we handle
Table of Contents
- Symptom-to-Cause Diagnostic Chart: What Each Problem Actually Means
- The Under-Deployment Problem: Why Dry Surfaces Hide Wet Structure
- In-Place Drying Systems: The Fix That Prevents Unnecessary Demolition
- How to Read Moisture Mapping and Psychrometric Logs
- The Most Common Missed Area: Wall Cavities and Subfloors
- Re-Opening an Insurance Claim After a Failed Restoration
- When to Request a Certified Hygienist’s Clearance Test
- The Mold Connection: When Water Damage Becomes a Secondary Problem
Symptom-to-Cause Diagnostic Chart: What Each Problem Actually Means
Restoration failures rarely announce themselves as a single dramatic event. They show up weeks or months later as a cluster of symptoms that seem unrelated but share a common root: incomplete drying. Here’s how to match what you’re seeing to what actually went wrong.
- Symptom: Persistent musty odor after the job was signed off.
This almost always means moisture remains in a hidden assembly: a wall cavity, under cabinetry, or inside a floor system. Once the visible surfaces dried, the restorer may have pulled equipment without verifying the concealed spaces. The odor is microbial activity feeding on residual moisture. The corrective step is a moisture inspection of cavities using penetrating or pinless meters, not surface readings alone. - Symptom: Return of visible moisture, staining, or efflorescence on concrete.
Concrete is porous and slow to release water. A surface that reads dry can re-saturate from below if the slab wasn’t given adequate drying time or if the restorer used air movement without sufficient dehumidification. Efflorescence – the white chalky residue – means water is still moving through the slab. The fix is continued low-grain refrigerant or desiccant dehumidification with documented daily moisture readings. - Symptom: Drywall feels soft, spongy, or shows bubbling paint.
Drywall that got wet and was dried only on the surface will delaminate internally. Gypsum loses structural integrity when saturated. If the restorer didn’t cut a moisture probe into the wall cavity or use an in-place drying system, the drywall looks fine for a few weeks, then fails. The corrective protocol is either cavity drying or removal and replacement, depending on the extent of saturation and the drying time that has elapsed. - Symptom: Hardwood cupping, crowning, or buckling weeks after the job.
Wood is hygroscopic, meaning it swells and shrinks with moisture content changes. If the subfloor wasn’t dried to below 12% moisture content (the threshold in IICRC S500 for most wood flooring), the wood continues to move after equipment is gone. Cupping means the bottom of the boards is wetter than the top. Crowning means the top is wetter. Both point to a subfloor or crawlspace that wasn’t addressed.
In Murrieta’s climate, where summer temperatures routinely exceed 90°F but winter nights can drop into the 30s, the drying environment shifts significantly by season. A restorer who doesn’t adjust their drying targets for temperature and relative humidity will produce inconsistent results. This is why documented psychrometric readings matter: they show whether the drying environment was actually controlled.
The Under-Deployment Problem: Why Dry Surfaces Hide Wet Structure
Here’s a scenario we’ve encountered more times than we can count: a water loss in a 400-square-foot room is treated with two residential dehumidifiers and a couple of box fans. The homeowner sees the carpet dry out, the restorer says the job is done, and everyone feels good. Then, three weeks later, the baseboards start to warp and there’s a faint smell of damp in the hall.
The failure is simple: two residential dehumidifiers don’t remove enough water per day to handle a genuine water loss. A saturated room of that size can hold dozens of gallons of water in the drywall, subfloor, and framing. Residential units remove maybe 10 to 15 pints per day under ideal conditions. That’s not enough to strip the moisture from structural assemblies, especially when the air movement isn’t directed into wall cavities or under flooring. The result is a surface that reads dry on a non-penetrating meter while the structure underneath remains wet.
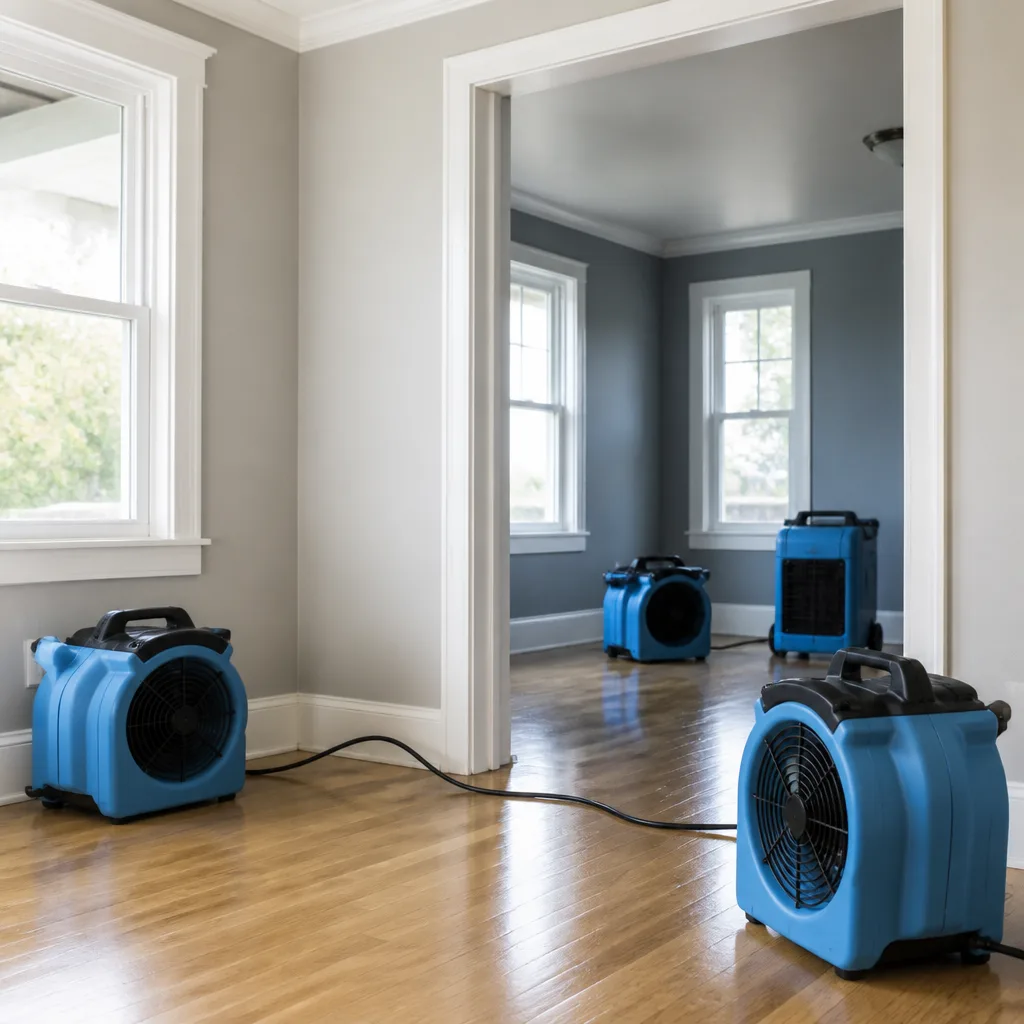
This is where equipment matters. Commercial-grade dehumidifiers from brands like Dri-Eaz and Phoenix remove 70 to 130 pints per day and are engineered to maintain low grain depression, which is the technical term for how aggressively they pull moisture from the air. We run professional-grade drying systems from Dri-Eaz, Phoenix, XPOWER, B-Air, and Injectidry precisely because residential equipment can’t generate the drying conditions a saturated structure requires. The right equipment, properly sized for the affected cubic footage, is the difference between a dry surface and a dry building.
If you’re evaluating a previous restoration that failed, ask one question: how many dehumidifiers were deployed, and what were their daily water removal ratings? If the answer is “a couple of units from the hardware store,” you’ve found your root cause.
In-Place Drying Systems: The Fix That Prevents Unnecessary Demolition
The old-school approach to wet wall cavities and subfloors is demolition: tear out the drywall, pull up the flooring, expose the framing to open air. It works, but it’s destructive, expensive, and extends the restoration timeline by weeks. There’s a better method that a surprising number of restorers don’t use.
In-place drying, also called directed drying, uses specialized equipment to force dry air into enclosed spaces without removing finished surfaces. The leading system for this is Injectidry, which we deploy on applicable jobs in Murrieta and throughout our service area. See Choosing the Right Damage Restoration Brand: A Buyer’s Guide for Murrieta for how we evaluate equipment. The concept is straightforward: small ports or manifolds are inserted into wall cavities or under subfloors, and dry air is pushed through the enclosed space while moisture-laden air is pulled out. The cavity dries from the inside, and the finished surface stays intact.
Why does this matter for troubleshooting? Because if your restoration involved wet walls or flooring and the restorer’s only plan was demolition, you may have paid for replacement materials you didn’t need. In-place drying reduces the scope of demolition on many losses, which means lower total cost and shorter disruption. If a previous restoration skipped this option, that’s a signal the provider wasn’t using the full range of available drying science.
Our certified technicians evaluate every wet wall and subfloor for in-place drying viability before recommending demolition. The decision comes down to the category and class of water, the saturation depth, and how long the area has been wet. When in-place drying is viable, it’s almost always the better path.
How to Read Moisture Mapping and Psychrometric Logs
Every certified restoration should generate documentation. It’s not a nice-to-have. A restorer working to IICRC S500 standards is expected to log daily moisture readings, track the drying environment with psychrometric data, and produce a moisture map showing which areas were wet and how they dried over time. If your restorer can’t or won’t produce these documents, that alone is a red flag worth investigating.
Here’s what to look for when reviewing the paperwork:
- Moisture content readings per material. Wood should be brought below 12% moisture content for most structural applications. Drywall should read below 1% on a moisture scale designed for gypsum, though restorers often use a comparative standard: an unaffected area in the same room should read nearly identical to the affected area at the end of drying. If the final readings show a gap of more than a few points between affected and unaffected areas, the job wasn’t finished.
- Daily drying logs. You should see moisture readings taken at least once per day, ideally at the same time each day, with a clear downward trend. A log that shows flat or rising moisture levels over several days means the drying setup wasn’t working and should have been adjusted.
- Psychrometric data. This includes temperature, relative humidity, and calculated specific humidity or dew point. The goal is to maintain a drying environment that pulls moisture from materials into the air, then removes it from the air through dehumidification. If the relative humidity in the affected area stayed above 60% throughout the drying period, the restorer was fighting the environment, not using it.
- Moisture mapping. A proper map shows the affected areas at the start, middle, and end of the job. It includes readings from walls, floors, ceilings, and hidden cavities if wall probes or in-place drying were used. If the map only covers the visible surface areas, hidden spaces were probably never checked.
In Murrieta, where the humidity swings between dry inland air and coastal influence depending on the season, psychrometric logging becomes especially important in summer months. A restorer who isn’t tracking the dew point can easily mistake surface evaporation for successful drying. If your post-restoration problems include persistent odor or failing materials, the first thing to request is the complete drying log from the original job. Missing logs aren’t just a paperwork gap; they’re evidence that the job wasn’t monitored to standard.
The Most Common Missed Area: Wall Cavities and Subfloors
Water doesn’t stay where it lands. It travels down, sideways, and into any porous material it can reach. A toilet overflow in a Murrieta bathroom doesn’t just soak the floor tile; it runs under the baseboards, wicks into the drywall, seeps through the subfloor, and often ends up in the ceiling cavity below. If the restoration only addressed the visible wet areas, the hidden cavities became a time-delayed problem.
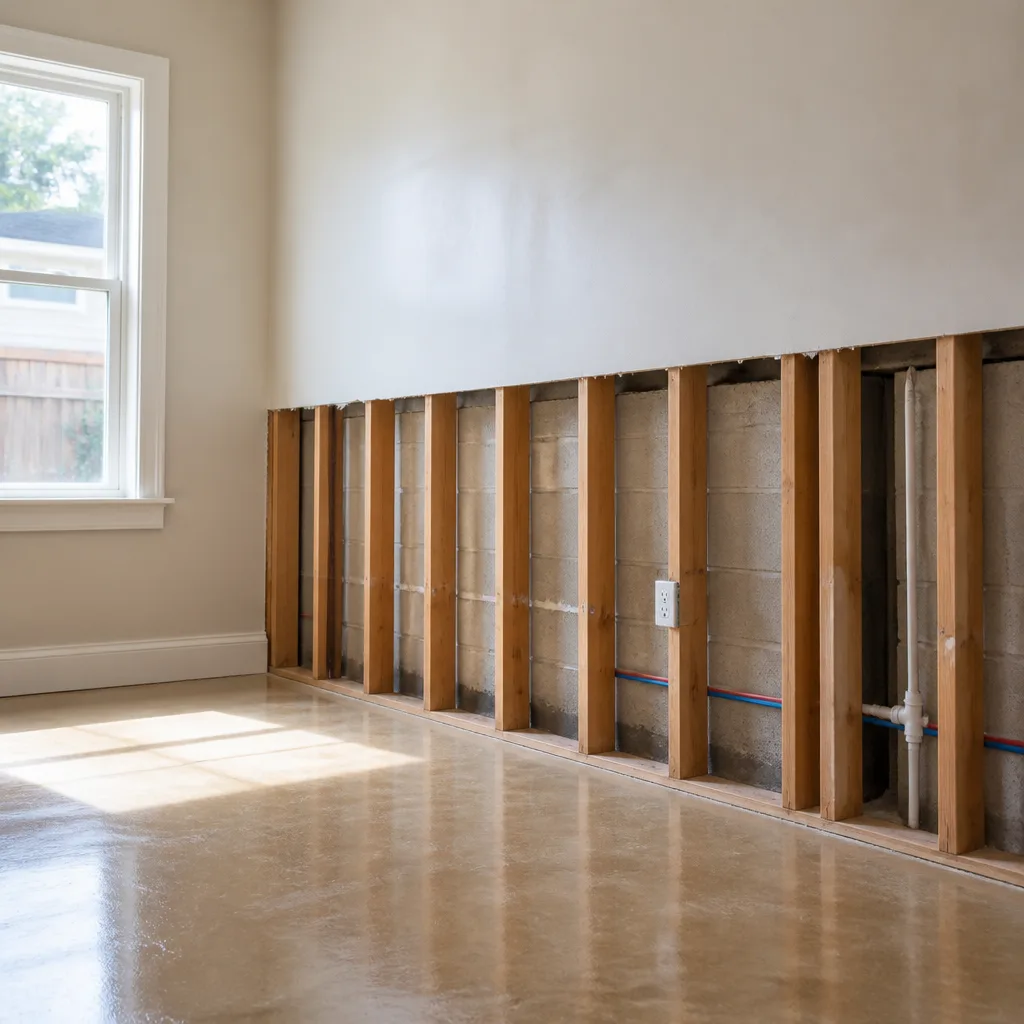
Wall cavities are the single most commonly missed drying zone in residential restoration. Here’s why: standard drying equipment blows air across the surface of the wall. That dries the face of the drywall. But the interior of the wall cavity – the back side of the drywall, the studs, the insulation – stays wet because no air is moving through it. The wall looks and feels dry from the outside. Inside, it’s a different story.
The same principle applies to subfloors under tile, hardwood, or vinyl. A moisture meter that reads the surface of the finished floor tells you almost nothing about the plywood or OSB underneath. Without a penetrating meter or an inspection port, you’re guessing.
How do certified restorers handle this? Two main approaches:
- Moisture probing. Small holes are drilled into the wall cavity or the subfloor access area, and a penetrating meter is inserted to read the actual moisture content of the hidden materials. The holes are patched after the job. This gives a direct measurement, not an estimate.
- In-place drying systems. As covered above, Injectidry and similar directed-drying systems push dry air into cavities and pull wet air out. This doesn’t just measure the problem; it fixes it without demolition.
If your restoration was signed off without any mention of wall cavity inspections or subfloor readings, and you’re now seeing problems, that omission is the likely cause. The corrective path is a moisture inspection of all hidden cavities in the affected area, followed by targeted drying or removal based on the findings.
Re-Opening an Insurance Claim After a Failed Restoration
This is the question homeowners hesitate to ask: what happens when a restoration was supposed to be done, but it wasn’t, and now the problem is back? The answer is that insurance claims can be re-opened when there’s evidence the original work didn’t meet the standard of care. But you need the right paperwork to make it stick.
An insurance policy covers the water damage event, and that coverage doesn’t disappear just because a restoration company signed off prematurely. If the structure wasn’t dried to IICRC S500 standards and secondary damage results – mold growth, warped flooring, failing drywall – that secondary damage is typically part of the original covered loss. The challenge is proving it.
Here’s the process that works:
- Document the current condition. Photograph every visible problem, but don’t stop there. A moisture inspection by a certified restorer or a certified industrial hygienist that shows elevated moisture in areas the original job claimed were dry is the strongest evidence you can have.
- Request the original documentation. Ask the original restoration company for their daily drying logs, moisture maps, and final readings. If they can’t produce them, note that. If they can, review them against the standards above.
- Contact your adjuster with the new evidence. Explain that the original drying was incomplete and that secondary damage has resulted. Provide the moisture readings and the missing documentation. Most adjusters will re-open the claim when the evidence shows the work didn’t meet standard.
- Bring in a certified restorer for the corrective work. The re-opened claim should cover the additional drying and any necessary replacement of damaged materials.
The key point: insurance companies are used to seeing post-restoration failures. They aren’t surprised by them. What they need is documentation that shows the problem isn’t a new damage event but a continuation of the original one. That documentation starts with a moisture inspection against IICRC standards.
When to Request a Certified Hygienist’s Clearance Test
A standard restoration sign-off means the restorer’s technician took moisture readings and declared the structure dry. A clearance test is different. It’s an independent third-party assessment, usually performed by a certified industrial hygienist or indoor environmental professional, that verifies the structure is not just dry but safe to reoccupy.
You should request a clearance test in these situations:
- The restoration involved Category 2 or Category 3 water (grey or black water), which carries contaminants that require sanitization, not just drying.
- The affected area was wet for more than 48 hours before drying started, increasing the risk of microbial growth.
- Anyone in the home has respiratory issues, immune system sensitivities, or chemical sensitivities.
- The original restoration was performed by a company that didn’t produce drying logs, and you have reason to doubt the thoroughness of the work.
- You’re seeing or smelling signs of mold after the job was signed off.
A clearance test typically includes air sampling, surface sampling if visible growth is present, and moisture verification. The hygienist produces a written report with lab results that either confirms the structure is safe or identifies residual moisture and microbial activity that needs to be addressed. This report is also the document that carries the most weight with insurance adjusters when re-opening a claim.
At Whitehall Water Damage home, our technicians work to IICRC standards on every job, and we’re familiar with the clearance testing process used in the Murrieta area. If a hygienist’s report identifies residual moisture after a previous restoration, we can prepare a corrective drying plan that targets the specific areas flagged in the report.
The Mold Connection: When Water Damage Becomes a Secondary Problem
Here’s the uncomfortable truth about water damage: the clock starts ticking on mold growth the moment water hits porous materials. Under the right conditions – warmth, moisture, and a food source like drywall paper or wood – mold can begin colonizing within 24 to 48 hours. A restoration job that leaves hidden moisture behind isn’t just an incomplete drying job; it’s a mold incubation chamber waiting to activate.
This is why the water and mold remediation connection matters. A water damage restoration that’s done right prevents mold. One that’s done wrong makes mold more likely, and the mold growth often starts in the exact cavities that were left wet: inside walls, under flooring, behind baseboards.
If you’re seeing post-restoration mold, the sequence of events usually looks like this: the original restoration dried the surfaces but missed the cavities. Moisture remained for weeks or months. Mold spores, which are present in every home, found the damp materials and started growing. By the time you see visible mold or smell the musty odor, the colonization is well established.
The fix is broader than just cleaning the visible mold. It requires identifying every area where moisture remained, drying those areas to standard, and then performing mold remediation to IICRC S520 standards. That’s why we handle water damage restoration and Mold Remediation in Murrieta as connected services under one credentialed team. When water damage leads to mold, you don’t want a handoff between two companies with no shared documentation. You want continuity.
The same principle applies to fire damage, where water from fire suppression systems creates a damage event that’s easy to overlook while the fire aftermath gets the attention. Our Fire Damage Restoration in Murrieta service includes the water mitigation component, because the two are inseparable in most structure fires.
Common Mistakes to Avoid
- Accepting a verbal “everything’s dry” without documentation. A certified restorer should hand you moisture readings, not reassurances. In Murrieta, where many homes are slab-on-grade construction, subfloor moisture isn’t visible and can’t be judged by eye.
- Allowing equipment to be pulled before final readings are shared. Once the dehumidifiers and air movers leave, your leverage to verify the job leaves with them. Ask for final moisture content per material before any equipment is removed.
- Skipping the cavity inspection conversation. If the damage involved water running down walls or across floors, hidden cavities are the default assumption, not the exception. A restorer who doesn’t mention them isn’t looking for them.
- Using surface-only moisture meters to evaluate the job. Non-penetrating meters read only the top layer. They’re useful for initial screening but inadequate for final sign-off on structural materials.
- Assuming a dehumidifier rental from a hardware store is the same as professional drying. It isn’t. Residential units lack the water removal capacity and airflow engineering to dry structural assemblies. This is the single most common cause of post-restoration problems in homes that attempted DIY drying or hired a low-budget provider.
- Waiting to see if the smell goes away on its own. It won’t. Musty odors indicate active microbial growth. Every week of delay makes the remediation scope larger and more expensive.
- Not cross-checking the restorer’s credentials. Membership in organizations like RIA and IFA signals accountability to industry standards. A restorer with no third-party credentialing has no outside body holding them to a published protocol.
See the difference
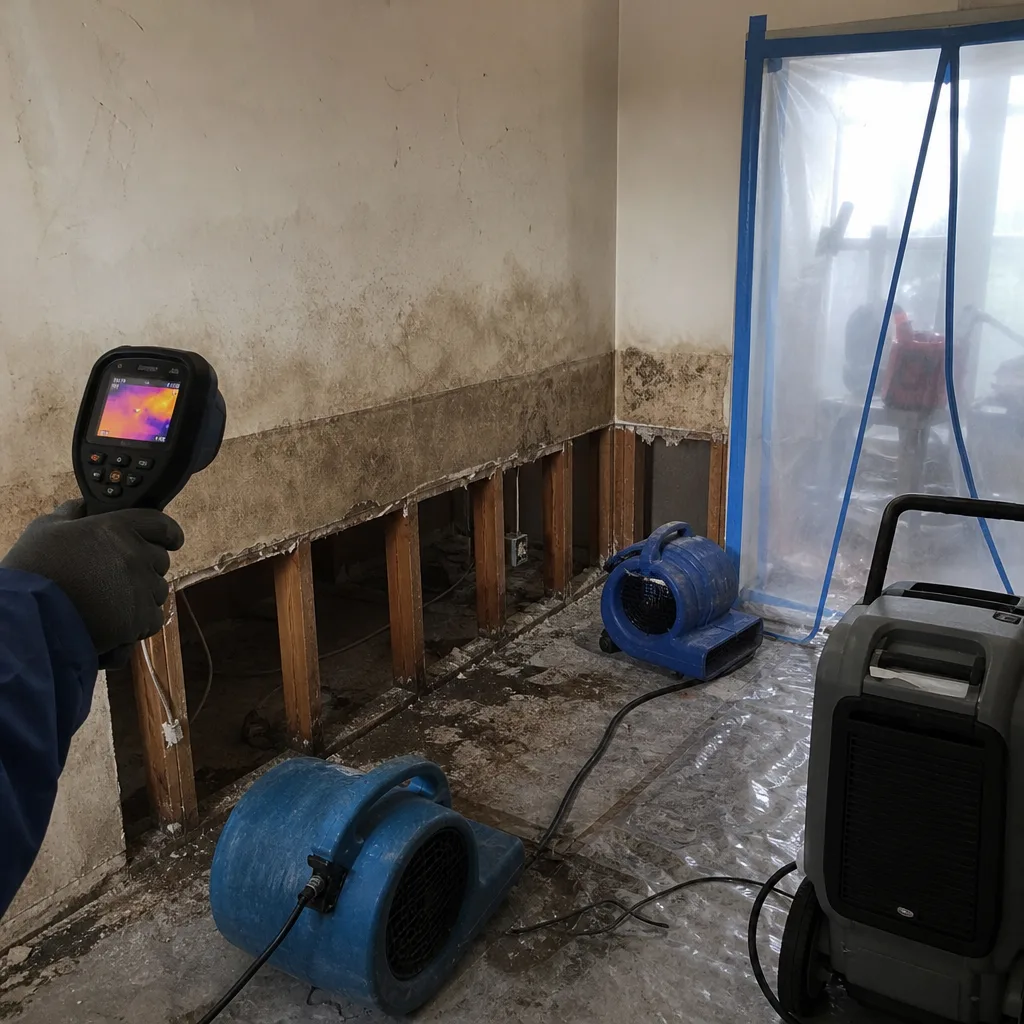 Before
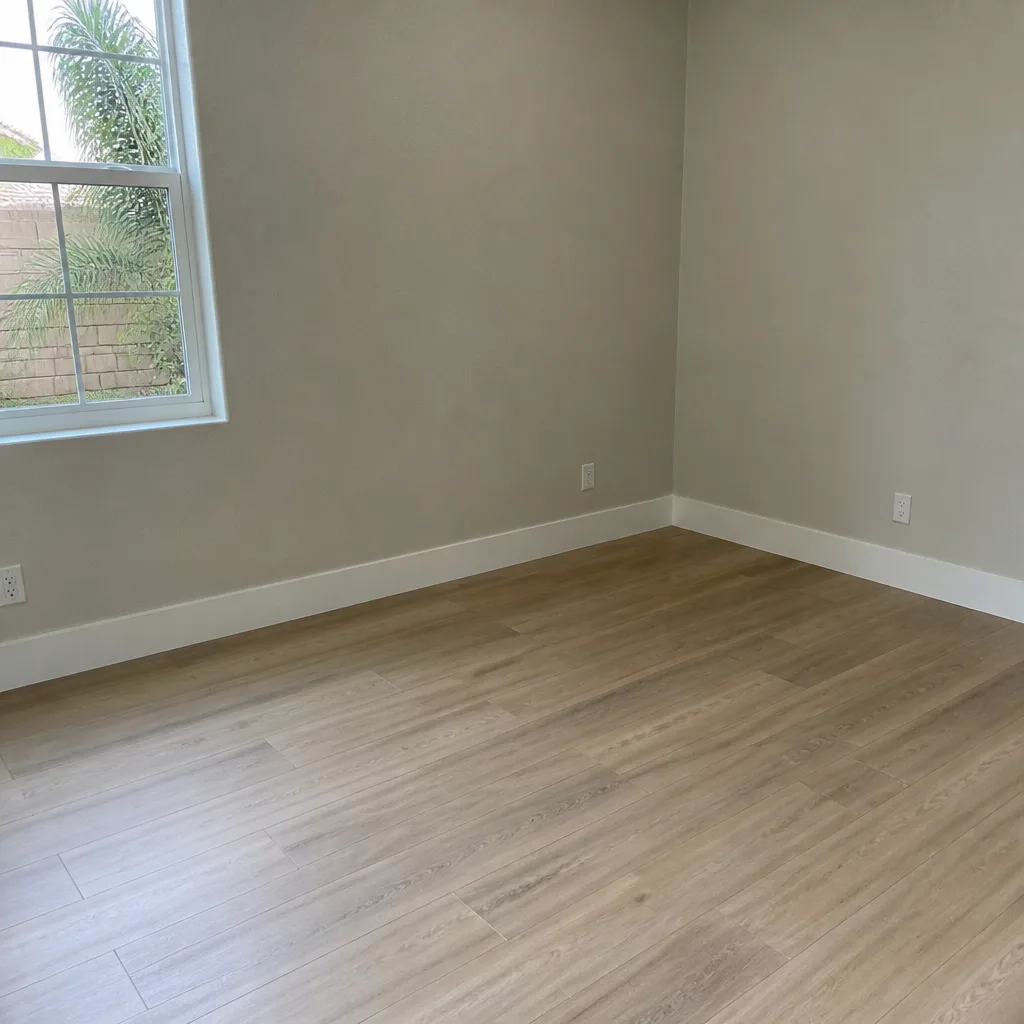 After
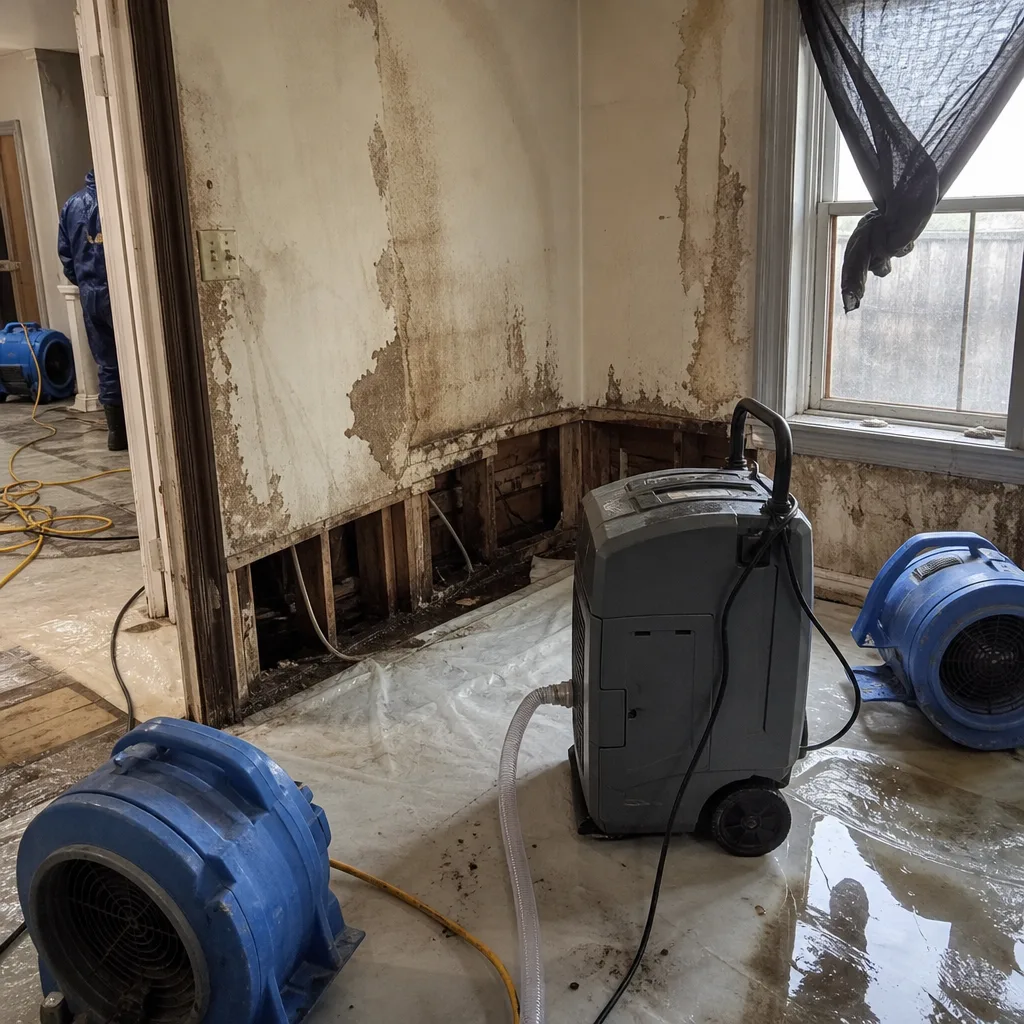 Before
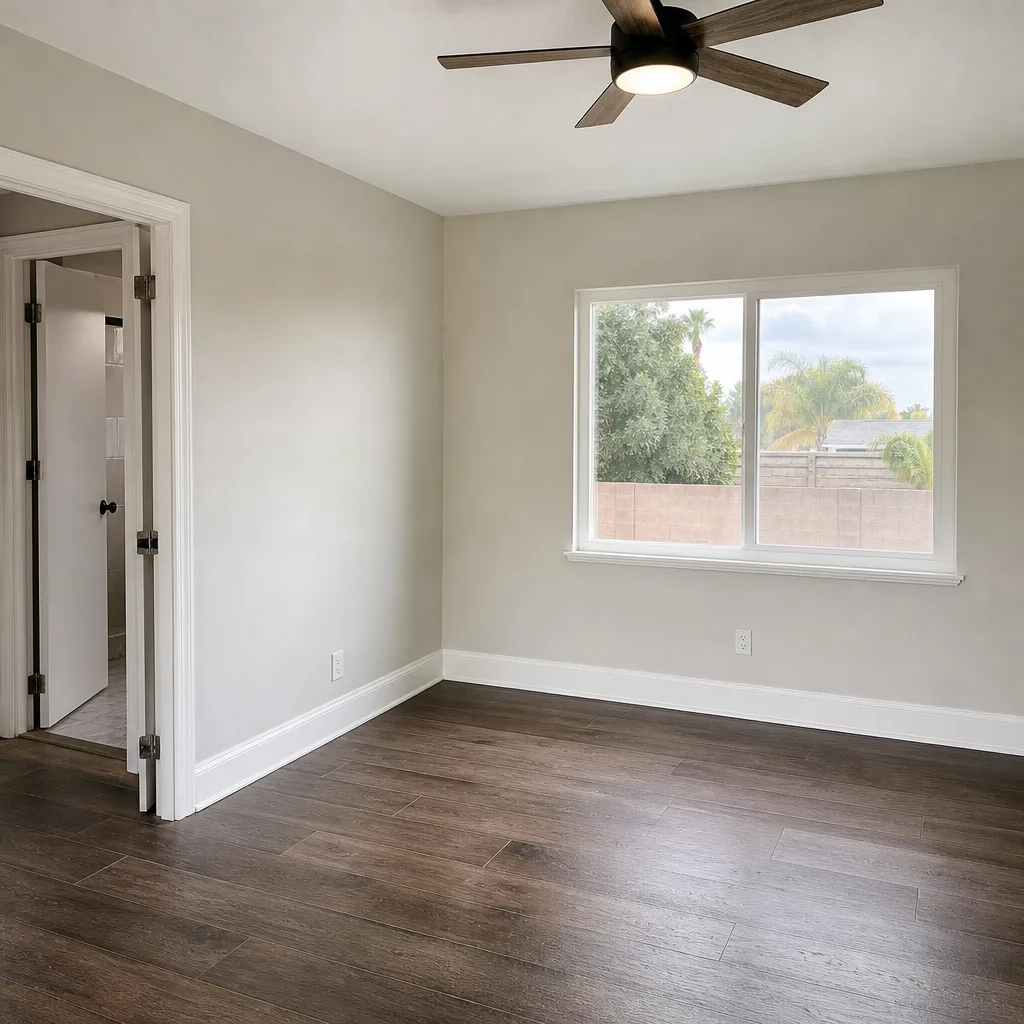 After
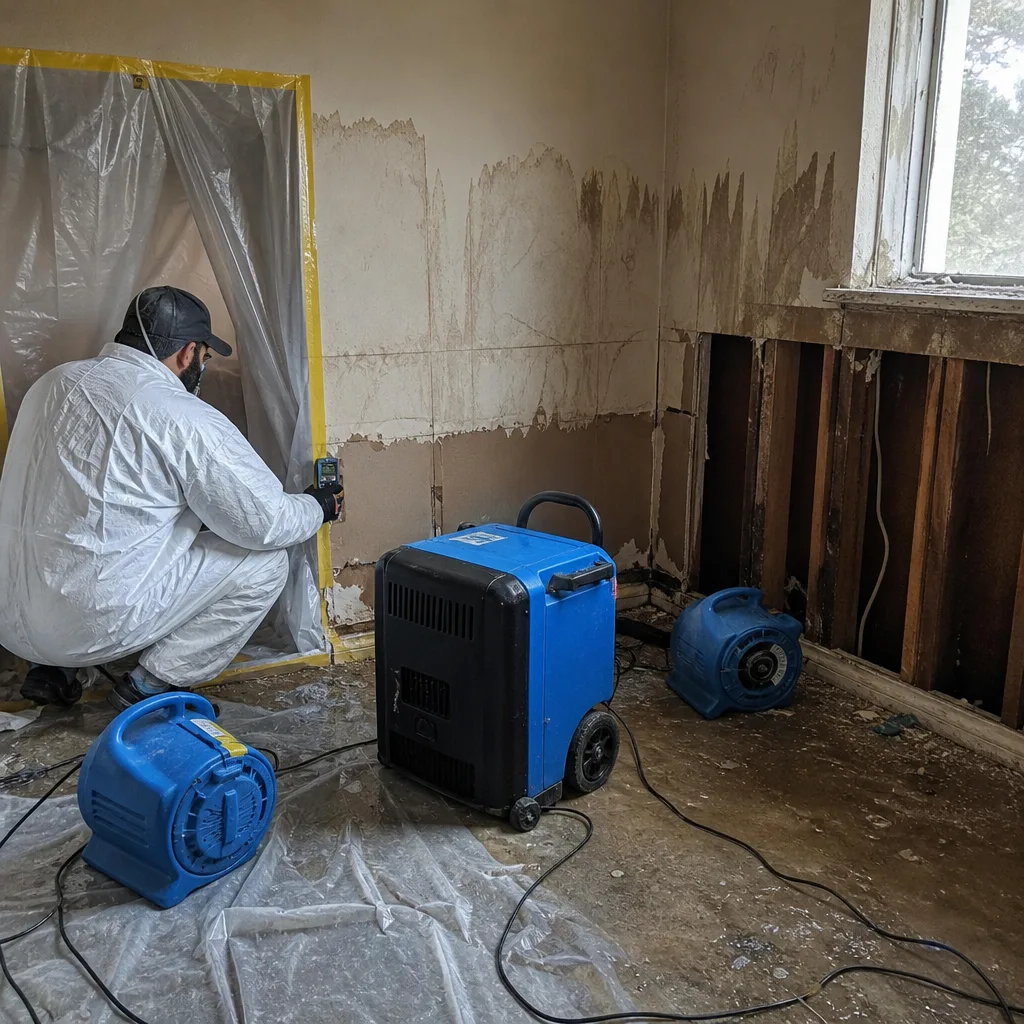 Before
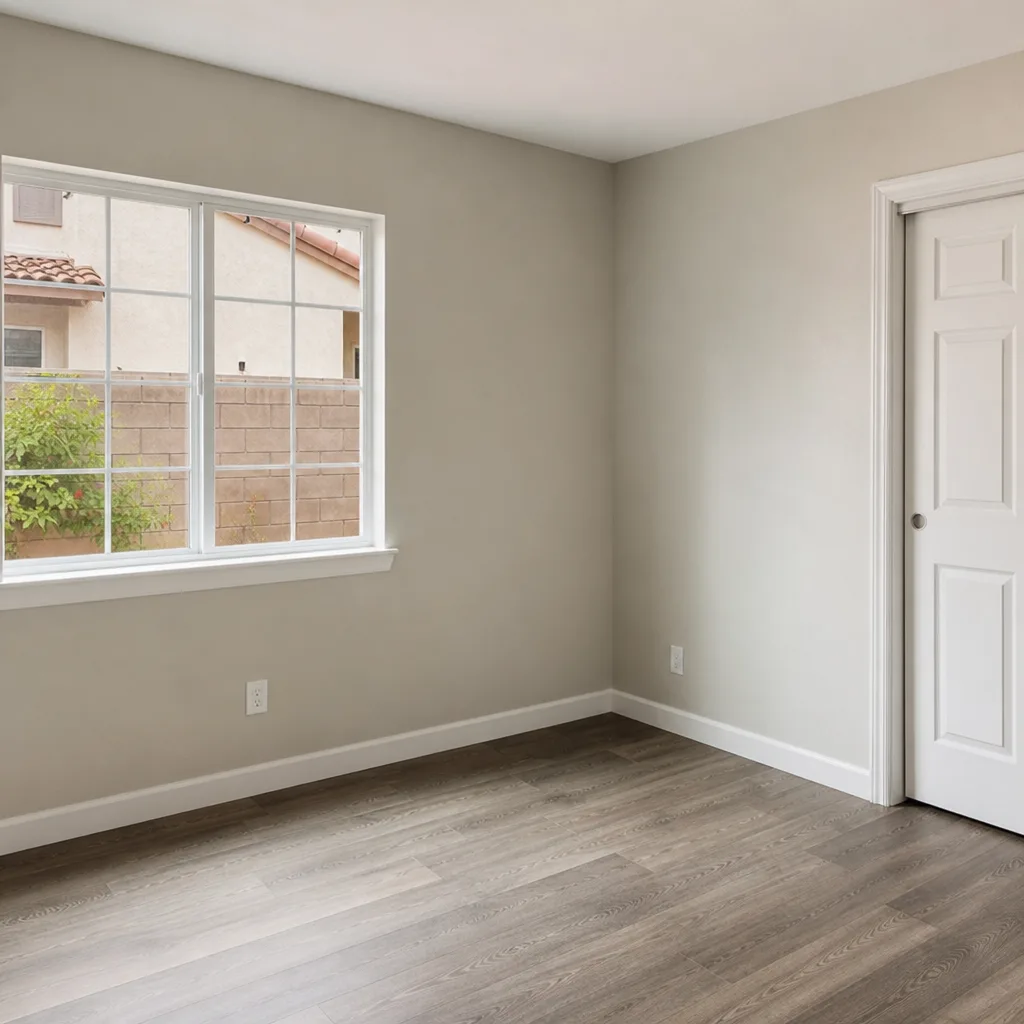 After
When to Call a Professional
Some problems can be monitored. A slightly damp corner that dries within a day with good ventilation is not an emergency. But when you see any of these signals, professional intervention is the right move: persistent musty odor more than a week after the restoration was completed, drywall that has softened or started to bubble, flooring that has cupped, crowned, or buckled, visible mold growth anywhere in the previously affected area, or condensation on walls or floors in the same room that was dried. Any one of these indicates residual moisture and a failed drying plan. A certified restorer will start with a full moisture inspection and give you documentation of exactly where the structure still holds water, then build a corrective plan. For more guides & resources on spotting restoration failures, visit our blog. Whitehall Water Damage offers free estimates in Murrieta and will assess any post-restoration concern against IICRC S500 standards. Call (844) 643-8708 to schedule an inspection.
Frequently Asked Questions
You should have received documentation showing daily moisture readings, a final moisture map, and psychrometric data from the drying period. The final readings should show affected materials at or near the moisture content of unaffected reference materials, with wood below 12% moisture content. If you didn’t receive this documentation, or if the restorer can’t produce it when asked, the job wasn’t verified to standard.
Yes, and it’s the most common failure point in residential drying. Moisture behind walls requires either penetrating meter probes or an in-place drying system like Injectidry to address. A restorer who only dries visible surfaces will leave wall cavities wet, which leads to odor, material failure, or mold growth weeks later.
Buckling means the flooring material absorbed moisture after the job was signed off, which means the subfloor or the underside of the flooring was never adequately dried. Stop walking on the affected area if possible, photograph the damage, and request the original restoration’s drying logs. Then have a certified restorer take penetrating moisture readings of the subfloor to confirm the residual moisture. This is the evidence you need to pursue a corrective claim.
It depends on the circumstances. If the water involved was clean, drying started quickly, and the restorer provided complete documentation, a third-party clearance test may be unnecessary. But if the water was contaminated, the structure was wet for more than 48 hours before drying began, or you’re seeing or smelling signs of mold, an independent hygienist’s clearance test is the most reliable way to verify the structure is safe. The cost is modest compared to the cost of remediating hidden mold found months later.
Typically yes, when the original water damage was a covered loss and the secondary damage is documented as resulting from the original event rather than a new one. The key is proving the connection, which requires moisture readings showing residual moisture plus evidence that the original drying didn’t meet IICRC S500 standards. Work with your adjuster and provide the documentation. Many claims have been successfully re-opened this way.
It depends on how long the residual moisture has been present and how much material is affected. In-place drying of a wall cavity can take three to five days once equipment is deployed. Matters involving saturated subfloors or areas with mold growth take longer because remediation may be required before drying can be completed. A certified restorer will provide a written scope and timeline before work begins, so you know exactly what to expect. For an assessment of your specific situation in the Murrieta area, call (844) 643-8708.
The Bottom Line
Post-restoration problems are not random. Persistent odors mean hidden moisture. Buckling floors mean the subfloor was never dried to standard. Soft drywall means cavity drying was skipped. Each symptom points to a specific, identifiable failure in the drying or documentation process. The corrective path always starts with moisture verification against IICRC S500 standards, not with speculation or surface-level fixes. Request the original drying logs. Hire a certified restorer who documents every reading. And if mold has already taken hold, address the moisture and the microbial growth together. If you’re in Murrieta and dealing with a restoration that didn’t hold up, our certified team can inspect the property and prepare a corrective plan. For more on our water damage restoration services, visit Water Damage Restoration in Murrieta or call (844) 643-8708 for a free estimate with documentation you can verify.
Written by the team at Whitehall Water Damage, serving Murrieta since 2015.