
Last updated October 30, 2026
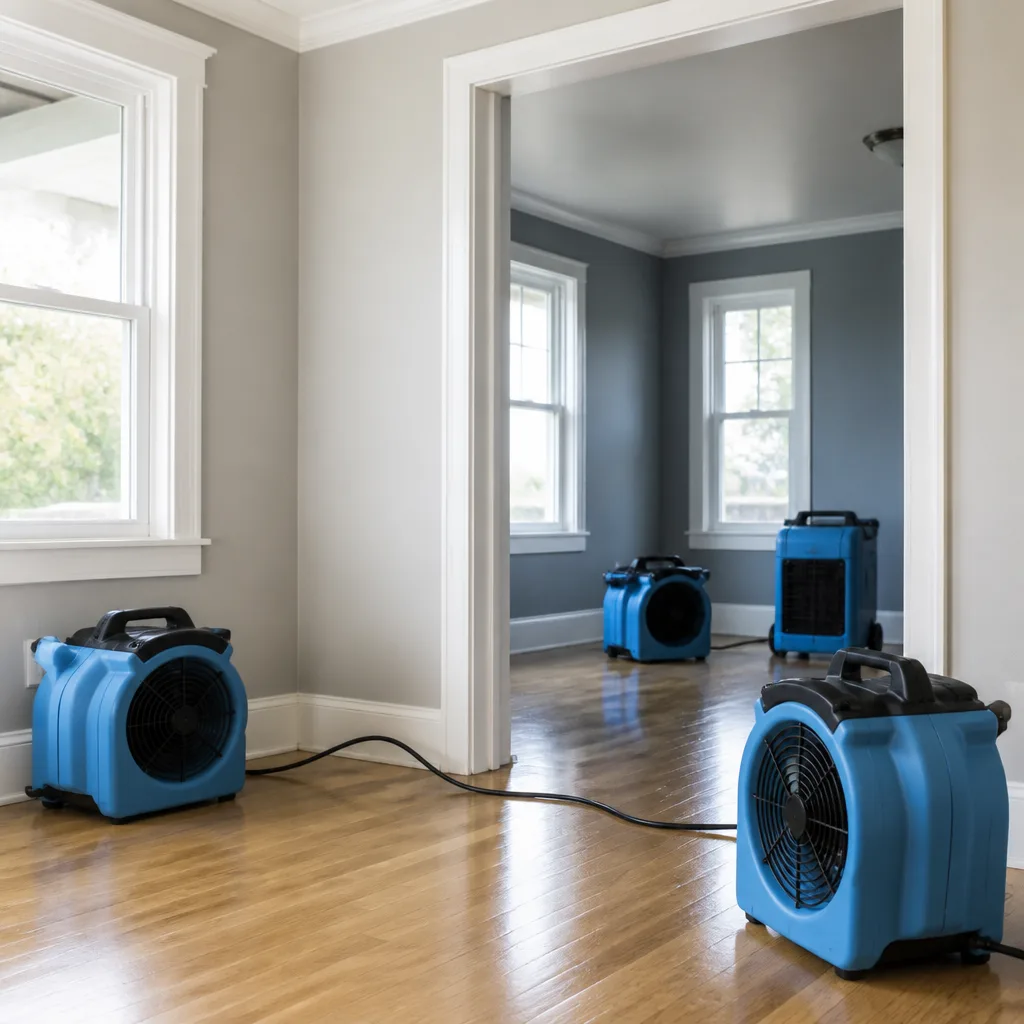 Water damage drying
 Fire & smoke cleanup
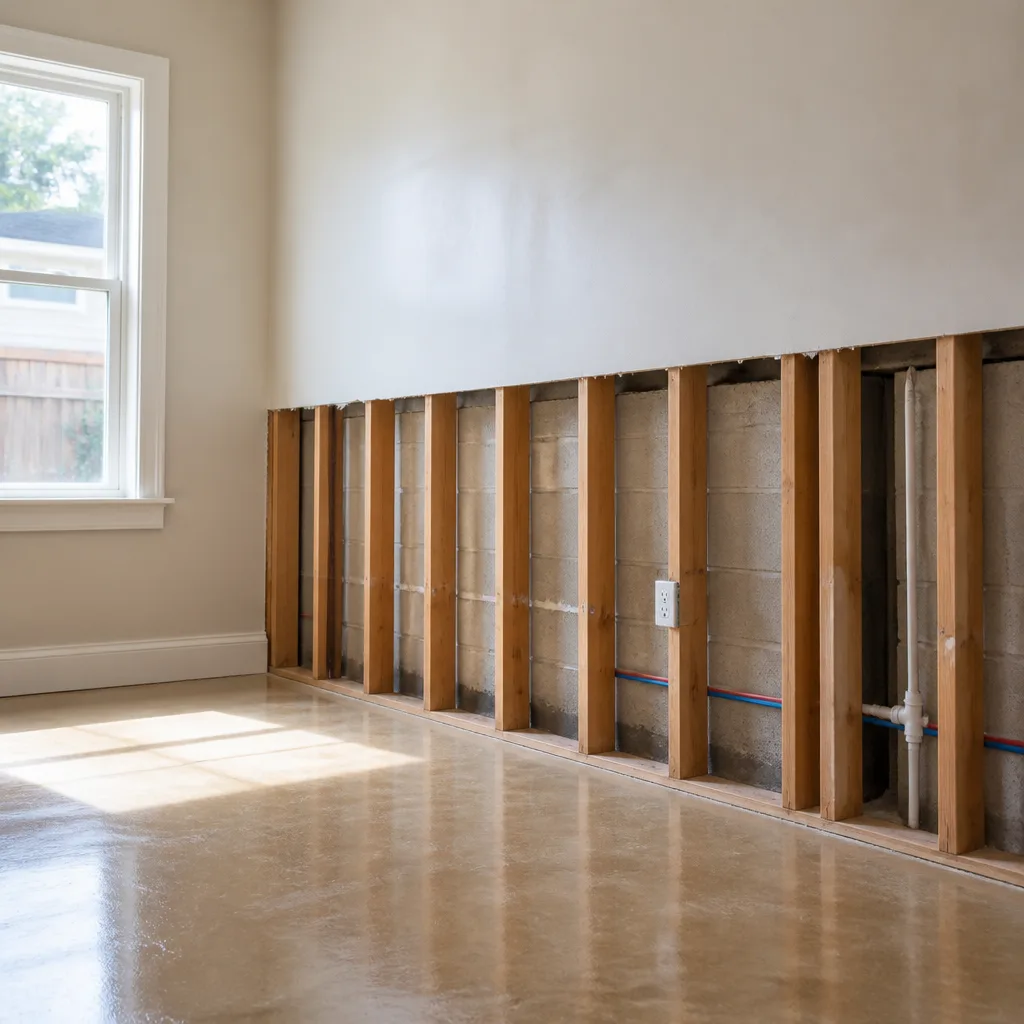 Mold remediation
 Storm response
 Sewage cleanup
 Reconstruction
Free visual inspection and a written scope of work before any mitigation begins - photos, moisture readings, and drying logs go in your claim file
The scope we write is the scope we bill. Anything new gets shown to you, in writing, before we touch it.
Get your free estimateWater Damage Restoration Maintenance Checklist for Murrieta Homeowners
Insurance adjusters have a term for what happens three months after a restoration project closes: secondary damage. It’s the cracked grout, the re-buckled hardwood, the musty odor that returns. And here’s what most Murrieta homeowners don’t realize until it’s too late: that follow-on damage is frequently denied as a separate claim, because the adjuster’s file says the original loss was already settled. The moisture didn’t re-enter your home. It never left. The highest-leverage maintenance window in a water damage restoration isn’t the first week after the event. It’s the six months after the crew packs up and leaves, when reinstalled materials are still equilibrating and hidden failures surface quietly. Our Water Damage Restoration guide covers exactly what to check during that window, how to check it, and what deserves a call back to your restoration contractor.
Quick Answer
A water damage restoration maintenance checklist for Murrieta homeowners should include: inspecting restored areas on a 30-60-90 day schedule, monitoring moisture readings in walls and subfloors with a pin-type meter, checking appliance supply lines and HVAC condensate drains monthly, documenting every reading and observation for insurance records, and addressing any moisture anomaly above 14-17% wood moisture equivalent immediately. The goal is catching secondary damage before it becomes a denied claim.
Restoration work we handle
Table of Contents
- Why the Six-Month Window After Restoration Matters More Than the Emergency
- The 30-60-90 Day Post-Restoration Inspection Protocol
- How to Self-Monitor Restored Walls and Subfloors with a Pin-Type Moisture Meter
- Santa Rosa Plateau Adjacency: Seasonal Wind Events and Your Repaired Seals
- Appliance and Plumbing Failure Prevention for Murrieta’s Most Common Water Loss Sources
- Documentation Habits That Protect You in a Future Claim
- Signs That Your Original Restoration Wasn’t Fully Dried
- Seasonal Maintenance Calendar for Murrieta Homes with Prior Water Damage
Why the Six-Month Window After Restoration Matters More Than the Emergency
Emergency response gets the attention because water is visible and spreading. But the physics of drying don’t stop when the visible water is gone. Building materials release moisture slowly, often over weeks or months, especially when drying was interrupted or a cavity wasn’t fully accessed. We’ve seen hardwood floors in Murrieta homes test dry on the surface and then cup six weeks later as internal moisture migrates outward. Drywall can pass an initial moisture reading and then form small paint bubbles at the baseboard line ninety days out. This is not new damage. It’s the original event completing its work through materials that weren’t fully equilibrated.
The reason this window matters financially is simple: most insurance policies treat a restoration project as a closed chapter. If a homeowner files a new claim for what looks like new water damage, but the adjuster links it to the prior loss, coverage can be denied as incomplete mitigation rather than a new occurrence. Your maintenance diligence during this six-month window is what creates the paper trail that protects you. A documented moisture reading three months post-restoration that shows an anomalous spike is evidence of incomplete work, not a fresh loss. A photo log of reappearing staining tells a story an adjuster can’t reframe.
For Whitehall Water Damage home technicians, the six-month maintenance window is when our drying science either proves itself or gets called back to finish the job. That’s why we recommend structured, scheduled inspections rather than waiting for a visible problem. Visible problems are late-stage. The whole point of a maintenance checklist is catching the failure before your floorboards tell you about it.
The 30-60-90 Day Post-Restoration Inspection Protocol
If your restoration contractor didn’t give you a follow-up inspection schedule, that’s the first red flag. Water Damage Restoration in Murrieta should include a documented post-project monitoring plan, not a handshake and a final invoice. Here’s the protocol we recommend for every Murrieta homeowner who has completed a restoration, whether we performed it or not.
Day 30 Inspection: The Equilibration Check
- Visual sweep of every restored surface. Look for paint bubbling, hairline cracks in new drywall mud, grout lines pulling away from tile edges, or baseboard separation from the wall. These are the earliest visible signs of material movement during equilibration.
- Moisture reading on at least three points per restored wall. Use a pin-type moisture meter (more on this below). You’re looking for consistency. A wall reading 8% at the top and 19% near the baseplate is telling you something.
- Sniff test in enclosed spaces. Open cabinet doors, closet doors, and step into the restored room with the door closed for ten minutes. Musty odor at day 30 means microbial activity is finding moisture it shouldn’t have.
- HVAC condensate check. Verify the condensate line is draining freely and the drip pan is dry. This is one of Murrieta’s most common slow-leak sources, and it can destroy a restored ceiling from above.
Day 60 Inspection: The Stress Response Check
- Recheck every day-30 observation point. Compare moisture readings to your baseline. Any upward trend, even 2-3%, deserves a contractor call.
- Inspect caulked joints around tubs, showers, and exterior doors. Restoration often involves recaulking, and caulk failure at day 60 usually means the substrate was still moving when the caulk was applied.
- Check restored flooring transitions. Hardwood, laminate, and tile all respond differently to humidity swings. The transition strip is where differential movement shows first.
- Run every appliance that shares a wall or floor with the restored area. Dishwasher, washing machine, water heater. You’re looking for vibration transfer, supply line seepage, or drain backup that goes unnoticed until it’s significant.
Day 90 Inspection: The Seasonal Response Check
- Full moisture meter sweep of all restored surfaces. Day 90 is when Murrieta’s seasonal shift between wet and dry conditions reveals whether materials were truly dry or just temporarily at an acceptable reading.
- Window and door seal inspection. Run a hand along every restored window frame and door threshold feeling for drafts or moisture. Silicone failures show up here first.
- Attic inspection if any ceiling or roof-area restoration was done. Look for water staining on decking, displaced insulation, or condensation around penetrations.
- Document everything, even normal readings. A full set of day-90 normal readings is your baseline for any future question about whether new damage is actually new. This documentation habit is what we cover later in this guide.
At any point in this 30-60-90 protocol, a single anomalous reading doesn’t mean catastrophe. It means investigation. But a pattern of readings trending up across two consecutive inspections is a structural signal that something under the surface didn’t finish drying.
How to Self-Monitor Restored Walls and Subfloors with a Pin-Type Moisture Meter
A pin-type moisture meter costs between $30 and $80 and is the single most valuable tool a homeowner with a prior water loss can own. It works by driving two small metal pins into the material being tested and measuring the electrical resistance between them. Water conducts electricity; dry material resists it. The meter converts that resistance into a moisture content percentage. This isn’t a professional-grade tool, but it’s accurate enough to establish trends, and trends are what you’re monitoring between professional inspections.
Here’s the monitoring approach we teach Murrieta homeowners:
- Establish a baseline immediately after restoration completes. Your contractor should have final moisture readings. Ask for them. Those numbers are your reference point. If they won’t provide final readings, that’s a strong signal the drying wasn’t actually documented to IICRC S500 standards.
- Test the same points each time. Pick specific locations: bottom plate area on each restored wall, a midpoint, and any area that was notably wet during the event. Mark them lightly in pencil if needed. Consistency in location is what makes trend analysis meaningful.
- Understand what readings mean. Wood moisture content below 12% is generally dry and stable. 12-14% is the transition zone where you should watch closely. Above 14-17% indicates moisture that’s not resolving and likely needs professional attention. These are the ranges we use on every Murrieta job, adjusted for the specific material being tested.
- Pin holes are negligible. The two small pin marks left by a pin-type meter are barely visible and easily touched up. They’re nothing compared to the damage a missed moisture pocket causes.
- Test subfloors wherever accessible. If you have a crawlspace, test the subfloor from below. If you have a finished basement or slab construction, test wherever the floor material allows. Murrieta has a mix of slab and raised foundation homes depending on the tract and era, and knowing which you have matters for where moisture hides.
Professional restoration companies like ours run commercial-grade meters from Dri-Eaz and other manufacturers that cost hundreds or thousands of dollars and provide calibrated accuracy. Your $50 meter won’t replace that. But it will tell you when to call. That’s the entire point: catching the anomaly between professional checks, not diagnosing it yourself.
Santa Rosa Plateau Adjacency: Seasonal Wind Events and Your Repaired Seals
Murrieta sits adjacent to the Santa Rosa Plateau, and the seasonal wind patterns that come off that elevation affect homes differently than those in more sheltered parts of the Temecula Valley. We’re talking about sustained winds that stress window seals, roof penetrations, and exterior door weatherstripping, especially on the eastern slope homes and anything with western exposure. If your water damage restoration involved any exterior envelope repair, which it commonly does when wind-driven rain was part of the event, those repaired seals need seasonal attention.
Here’s what we’ve observed across hundreds of Murrieta restorations:
- Window seals repaired during restoration are the most common failure point in the first seasonal wind cycle. The repair was done correctly, but the surrounding materials were still adjusting when the first strong wind event hit.
- Roof penetrations (vents, flashings, skylights) need checking after the first significant wind event following restoration. Lifted shingles or shifted flashing don’t always leak immediately, but they create pathways for the next rain event.
- Door threshold seals on windward-facing doors wear unevenly under repeated wind pressure. The door that faces the prevailing wind direction will show seal compression faster than others in the same house.
- During Santa Ana-adjacent patterns, exterior walls dry rapidly, which can cause caulking to crack as materials shrink. This is physics, not a workmanship defect, and it’s why post-restoration caulking should be flexible, high-quality product designed for the movement tolerance this region requires.
The maintenance task here is specific: after any significant wind event (sustained 20+ mph for several hours), do a visual walk of the exterior, focusing on areas repaired during your restoration. Look for lifted materials, new gaps, or displaced caulking. Then wait for the next rain and watch those same areas during and immediately after. Wind damage to seals is a precondition for water intrusion, not the intrusion itself. Your maintenance check in the gap between the wind event and the rain event is what prevents the next interior claim.
Appliance and Plumbing Failure Prevention for Murrieta’s Most Common Water Loss Sources
In our experience, the Murrieta homes that experience repeat water damage after restoration rarely have another burst pipe. They have a supply line failure, a clogged condensate drain, or a slab leak that went unnoticed. The restoration work wasn’t the weak point. The appliances and plumbing fixtures that caused the first event, or new ones that aged during the restoration period, were. Here’s a prevention checklist targeting the exact failure modes we see most often in this market.
Supply Lines (Washing Machine, Ice Maker, Toilets, Sinks)
- Inspect every braided stainless supply line monthly. Look for rust on the fittings, bulging in the hose, or moisture at the connection points. Rubber supply lines should be replaced outright, they’re a known failure waiting to happen.
- Replace supply lines every 5 years regardless of appearance. The internal rubber degrades before the external braiding shows it. This is cheap insurance that’s dramatically cheaper than another restoration.
- Hand-tighten any connection that shows seepage or mineral deposits. Mineral crust at a fitting means slow leakage has already occurred. Tightening solves the active drip; mineral crust on the line itself means it’s been leaking internally and should be replaced.
HVAC Condensate Drains
- Check the condensate line monthly during summer months. Murrieta’s hot dry season means constant AC operation, which means constant condensate production. A clogged line backs up into the drip pan and eventually overflows, often into a ceiling or wall cavity.
- Pour two cups of white vinegar down the condensate line every 60 days. This dissolves the algae and microbial buildup that causes clogs. It’s the same maintenance an HVAC tech does during a seasonal tune-up.
- Verify the drip pan is dry and the float switch is functional. The float switch is a safety that shuts the system down if the pan fills. Test it by lifting the float manually. If the AC doesn’t shut off, the switch is dead and you’re relying on the pan’s overflow pipe alone.
Slab Leaks (Homes on Concrete Foundations)
- Know the early signs: unexplained warm spots on the floor, the sound of running water when no fixtures are on, a sudden increase in the water bill, or cracks appearing in flooring. Murrieta homes on slabs, particularly older tracts, are susceptible to slab leaks from copper pipe degradation or poor original installation.
- Monitor your water meter with everything off. Once monthly, turn off all fixtures, note the meter reading, wait thirty minutes, and check again. Movement means a leak. This catches slab leaks before they surface through the floor.
- If you suspect a slab leak, call a professional with leak detection equipment immediately. Slab leaks don’t self-resolve and the repair involves specialized detection and access. This is not a maintenance item, it’s a call-to-action item.
Water Heaters
- Inspect the base and fittings monthly for any sign of rust, mineral buildup, or moisture. Water heaters fail from the inside out, and the first visible sign is often a small weep at the base or a fitting that won’t stop seeping.
- Flush the tank annually to remove sediment. Sediment accelerates tank corrosion and shortens lifespan. Murrieta’s water has enough mineral content that this matters more here than in soft-water regions.
- Replace water heaters proactively at 10-12 years of age. Waiting for failure means dealing with the water damage when it does fail. We’ve restored too many Murrieta garages and adjacent rooms after a 15-year-old water heater gave out, and every one of those homeowners said they knew it was old but figured they had more time.
This appliance and plumbing prevention checklist isn’t about protecting appliances. It’s about protecting the restoration investment you already made. The second event in a Murrieta home is almost never as dramatic as the first, but it’s often more expensive, because it strikes in the same areas that are still recovering.
Documentation Habits That Protect You in a Future Claim
Here’s the uncomfortable reality about repeat water damage claims: the adjuster assigned to your next claim won’t have seen your previous restoration. They’ll see a file with a prior water loss at the same address, and they’ll ask a question that’s fair but loaded: is this new damage, or is this the original claim not properly resolved? Your answer determines whether the claim is covered or denied. Your documentation is what makes your answer credible.
Here’s the documentation system we recommend for every Murrieta homeowner with a prior restoration:
- Photographic log of every inspection point. Same angles, same lighting, same distance. You’re creating a visual timeline that shows stability or change.
- Date-stamped moisture readings from your pin-type meter. Write them down or log them in a spreadsheet. A reading of 9% on day 30 and 9% on day 90 is powerful evidence that the drying was complete and the new event is genuinely new.
- All correspondence with your restoration contractor. Final invoices, warranty terms, photos they took during the job, any follow-up visit notes. This establishes the baseline scope of work done.
- Receipts for any post-restoration maintenance work. A plumber’s invoice for supply line replacement shows diligence. The absence of any maintenance history suggests the homeowner didn’t maintain the property, which can factor into claim disputes.
- Your water bill history. A spike in usage is both a leak indicator and documentation that the spike occurred after the restoration, not before.
The documentation habit extends beyond insurance. If you ever sell the Murrieta home, the buyer’s inspection will note prior water damage remediation. A clean maintenance file with documented post-restoration monitoring is a strong response to that inspection finding. It says the work was done properly, verified over time, and maintained. That’s a different conversation than a shrugged “we had a leak once and a company came out.”
Signs That Your Original Restoration Wasn’t Fully Dried
Not every restoration company operates to the same standard. The difference between a company that follows IICRC S500 protocols with commercial-grade drying equipment and one that runs fans for a few days and calls it done will show up in the months after the project closes. Here’s what incomplete drying looks like from a homeowner’s perspective.
- Persistent musty odor in the restored area that doesn’t resolve with cleaning. Odor means microbial activity. Microbial activity means moisture. If cleaning products don’t eliminate the smell within a day or two, the moisture source is still present.
- Flooring that cups, crowns, or gaps weeks or months after reinstallation. Hardwood responds to moisture for a long time. If test readings at day 30 show elevated moisture in the flooring, the wood was reinstalled before it was fully dry.
- Nail pops or screw pops appearing in restored drywall. This means the wall framing was still damp when the drywall was hung and fastened. As the wood dried and shrank, the fasteners stayed put and the surface pulled away.
- Recurring condensation inside windows in the restored room but not elsewhere in the house. Interior humidity is elevated in that area, which points to a moisture source still releasing into the space.
- Tile or grout cracking in a pattern, not randomly. Random cracking is settlement. Patterned cracking that follows a line or a corner is substrate movement from moisture.
- Mold staining visible at the baseboard line within the first year. This is the classic signature of incomplete wall cavity drying. The visible interior face tested dry, so the walls were closed, but the cavity stayed wet and mold colonized in the dark space behind the baseboard.
If you’re seeing these signs, the original restoration contractor should be your first call. If that conversation doesn’t resolve the issue, get a second opinion from a company that operates to IICRC S500 standards with professional-grade drying equipment. The Mold Remediation in Murrieta need is the downstream consequence of incomplete water drying, and it’s better to address the moisture before the microbial growth becomes established.
Seasonal Maintenance Calendar for Murrieta Homes with Prior Water Damage
Murrieta’s climate doesn’t have the dramatic seasonal swings of the Midwest or Northeast, but it has distinct patterns that affect moisture movement. Here’s a simple calendar structured around those local conditions.
Spring (March through May)
This is the post-rain assessment window. Murrieta’s winter rains have finished, the ground is saturated, and everything that got wet has had time to show itself. Do a full waterproofing check: roof, gutters, downspout discharge, exterior walls, window wells if you have them. Test your sump pump if you have a crawlspace. Check the crawlspace itself for standing water or elevated humidity, which leads to the next issue on our list.
Summer (June through September)
This is the AC condensate season and the highest-risk window for HVAC-related water damage. Monthly condensate line maintenance is non-negotiable during summer months. Also monitor indoor humidity in enclosed spaces, because Murrieta’s dry heat means homeowners often don’t realize how much moisture is being added by daily activities, which can affect restored materials differently than ambient outdoor humidity.
Fall (October through November)
This is the prep window before winter rains. Inspect all exterior seals, flashings, and paint that were part of any restoration. Make repairs while the weather is dry. Check gutters after the first leaf drop; Murrieta’s mature landscaping contributes significantly to gutter clogging, and a clogged gutter during a heavy rain spills water directly against the foundation.
Winter (December through February)
Murrieta gets wind events during winter that stress everything repaired in prior seasons. Do the post-wind seal check we described earlier. Monitor rooms that face the prevailing wind direction during rain events. And if a heavy rain is forecast, do a quick sweep: gutters clear, downspouts extended, exterior drains clear of debris, and any low spots against the foundation sloped away.
This seasonal calendar is light-touch but consistent. It’s not about spending every weekend maintaining a house. It’s about spending fifteen minutes at the right points in the year looking at the specific areas that restoration work touched, because those areas are more vulnerable than untouched construction.
Common Mistakes to Avoid
- Assuming the restoration company’s final walkthrough means the project is actually done. A final walkthrough confirms visible work is complete. It doesn’t confirm that materials are dry to the standard that prevents future problems. Ask for final moisture readings, not just a walkthrough.
- Relying on visible water as your only indicator. By the time water is visible, it’s been moving through materials for hours or days. The maintenance checklist exists to catch moisture before it’s visible.
- Using a non-pin moisture meter and trusting the readings. Pinless meters measure a different property and are unreliable on many construction materials. Pin-type meters are the right tool for DIY trend monitoring.
- Ignoring the HVAC condensate line because “it’s not part of the restoration.” The condensate line is one of the most common sources of repeat water damage in Murrieta homes, and it can undo a ceiling restoration in a single summer season.
- Failing to document normal readings. Homeowners only document problems. Insurance claims are decided on documentation of normalcy. A log showing stable readings is evidence that new damage is genuinely new.
- Replacing supply lines only when they look bad. Visual appearance is a lagging indicator. Internal degradation happens before external symptoms. Proactive replacement is a maintenance item, not a repair item.
- Assuming a water damage restoration company that also does mold and fire is “less specialized.” The opposite is true. A company operating to IICRC standards across water, mold, and fire has the drying science expertise to handle cascading damage without handoffs between contractors. Fire Damage Restoration in Murrieta often involves massive water application during firefighting, and the restoration skills overlap significantly.
See the difference
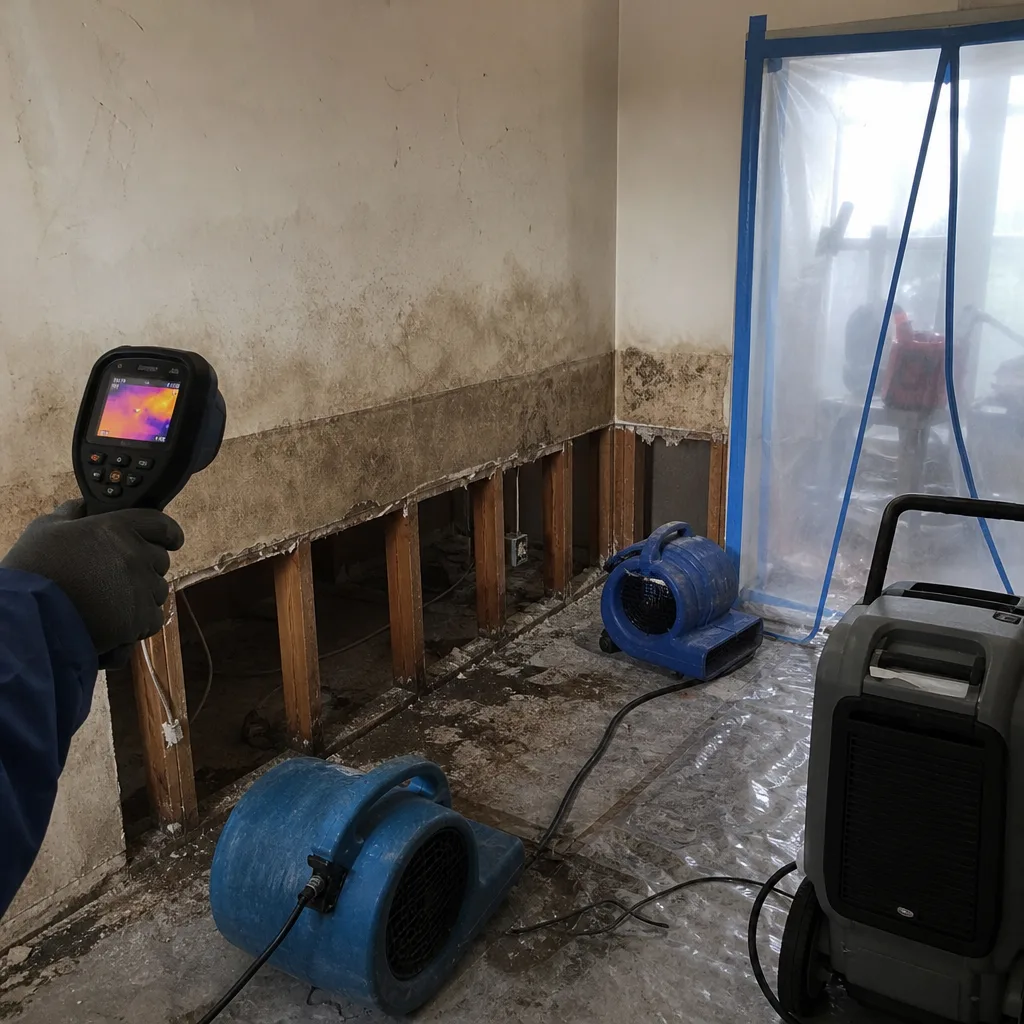 Before
 After
 Before
 After
 Before
 After
When to Call a Professional
Some maintenance findings deserve a professional assessment rather than continued monitoring. Call a restoration company if: your pin-type moisture meter shows readings consistently above 14% in wood or 17% in drywall two weeks after first detection; you find visible mold growth of any size, because mold indicates a moisture source that hasn’t been addressed; you notice structural movement in restored areas, like doors that suddenly stick or cracks that appear overnight, which suggests framing is responding to ongoing moisture; any appliance or plumbing failure releases water into a previously restored area, because the protocols for cleaning and drying change when materials have a restoration history; or you’re preparing an insurance claim that references prior restoration work and need professional documentation of current conditions. Whitehall Water Damage offers free estimates in Murrieta, call (844) 643-8708, and we’ll give you an honest read on whether you’re looking at a maintenance issue or a restoration-grade problem.
Frequently Asked Questions
Wait until your restoration contractor provides you with final moisture readings showing all affected materials are dry to IICRC S500 standards, which typically means wood moisture content at or below 12% and drywall at or below 14%. In Murrieta’s climate during warmer months, this might be a matter of days after drying equipment is removed. In cooler or more humid periods, it’s longer. Replacing furniture on materials that are still releasing moisture creates the conditions for mold growth in an enclosed space.
A cheap pin-type moisture meter from a hardware store is adequate for trending, which is what DIY monitoring is. You’re not trying to determine the exact moisture content, you’re trying to detect when a number starts moving in the wrong direction. Professional restoration companies use calibrated commercial meters from manufacturers like Dri-Eaz that cost significantly more and provide precision readings. Use the inexpensive tool for monitoring between professional inspections, and call a professional when the trending suggests a problem.
HVAC condensate drain failures are the most common source we see, particularly during Murrieta’s long cooling season. A clogged condensate line backs up into the drip pan, and when the pan overflows, water runs into ceiling cavities, wall cavities, or subfloor spaces. The location is often directly above or adjacent to previously restored areas, which means the second event compounds the first. Monthly condensate line maintenance during summer months is the single highest-value prevention task a Murrieta homeowner can perform.
It depends on whether the damage is classified as a new occurrence or incomplete mitigation of the prior claim. If your documentation shows stable moisture readings for months followed by an anomalous spike, you have a strong case for a new occurrence claim. If the damage appears to be a continuation of the original water loss that wasn’t fully dried, the insurer may deny the claim as incomplete prior work. This is why documentation habits matter as much as inspection habits.
We recommend a professional inspection at the six-month mark after restoration completion, and then annually if nothing concerning is found. The six-month inspection catches equilibration failures that are still developable. The annual inspection catches slow-developing issues, especially anything related to Murrieta’s winter rain cycle or summer condensate load. If you’re doing your own monthly checks with a moisture meter and keeping good documentation, you can extend the interval between professional checks without increasing risk.
Don’t try to cover the odor with cleaning products or air fresheners. Musty odor indicates microbial activity, and microbial activity requires moisture. The source is still present somewhere. Start by identifying where the odor is strongest, then use your moisture meter to test that area systematically. If you get elevated readings, call a mold remediation professional. If you can’t locate a source but the odor persists, call anyway. A restoration professional with proper detection equipment can often find what a homeowner can’t. The call is cheaper than letting a hidden moisture source continue doing structural damage.
The Bottom Line
The restoration project isn’t over when the crew walks out the door. The six months that follow are when the work proves itself or fails quietly, and Murrieta homeowners who treat that window with structured attention catch failures before they become denied claims, structural problems, or mold remediation projects. Establish your baseline readings, run a pin-type moisture meter monthly across restored surfaces, monitor the specific appliance and plumbing systems that fail most often in this market, document everything, and don’t hesitate to call a professional when a number trends the wrong direction. For more guides & resources, the homeowner who does this consistently has a different insurance experience than the one who discovers a problem by stepping into a squishy carpet. One has a maintenance record. The other has an emergency.
Written by the team at Whitehall Water Damage, serving Murrieta since 2015.